Last updated November 18, 2026








Free written scope consultation - allowances, timeline, and change-order rules on paper before a single trade is scheduled
Bathroom Remodeling Troubleshooting: Common Problems and How to Fix Them
A single hairline crack in grout near a shower drain is not a grout problem. It never is. That crack is a signal from the substrate underneath, telling you the floor has been moving, the waterproofing has failed, or both. Most bathroom failures in Miami Gardens start behind the finish surfaces, which means by the time you see them, the damage has been running for months or years. This guide maps the five most common remodel failures to their actual root causes, explains how to diagnose each one before you commit to a repair, and gives you real repair cost ranges so you know when remediation is throwing money at a problem that needs replacement instead.
Quick Answer
Most bathroom remodel failures trace back to four hidden systems: tile substrate, drain connections, ventilation, and waterproofing membrane continuity. Grout cracks mean movement or deflection. Tile debonding means the thinset didn’t bond. Mold at grout lines means water is getting behind the tile. Each repair has a different price range, from a $150 grout fix to an $18,000 gut-and-redo, and the only way to know which one you’re facing is to open up the surface and look at what’s underneath.
Styles & brands we work with
- Kitchen remodeling
- Bathroom remodeling
- Home additions & ADU
- Roofing
- Windows & doors
- Driveway & pavers
- Fence
Table of Contents
- The Five Most Common Bathroom Remodel Failures and Their Root Causes
- Why Does Grout Crack Near the Shower Drain?
- How to Find Tile Debonding With a Tap Test
- Why Mold Grows at Grout Lines Behind the Tile
- Slow Drain vs. Improper Shower Pan Slope
- Why Your Bathroom Fan Is Undersized
- Repair Cost Framework: What Each Fix Actually Costs
- How to Document a Contractor Defect for a CILB Complaint
The Five Most Common Bathroom Remodel Failures and Their Root Causes
The failure mode you see on the surface is rarely the failure that matters. Here’s how the visible symptom maps to the actual problem:
- Grout cracking – substrate movement or deflection. The tile floor flexes underfoot because the plywood or concrete beneath it isn’t stiff enough for the span, or the thinset wasn’t fully cured before foot traffic started.
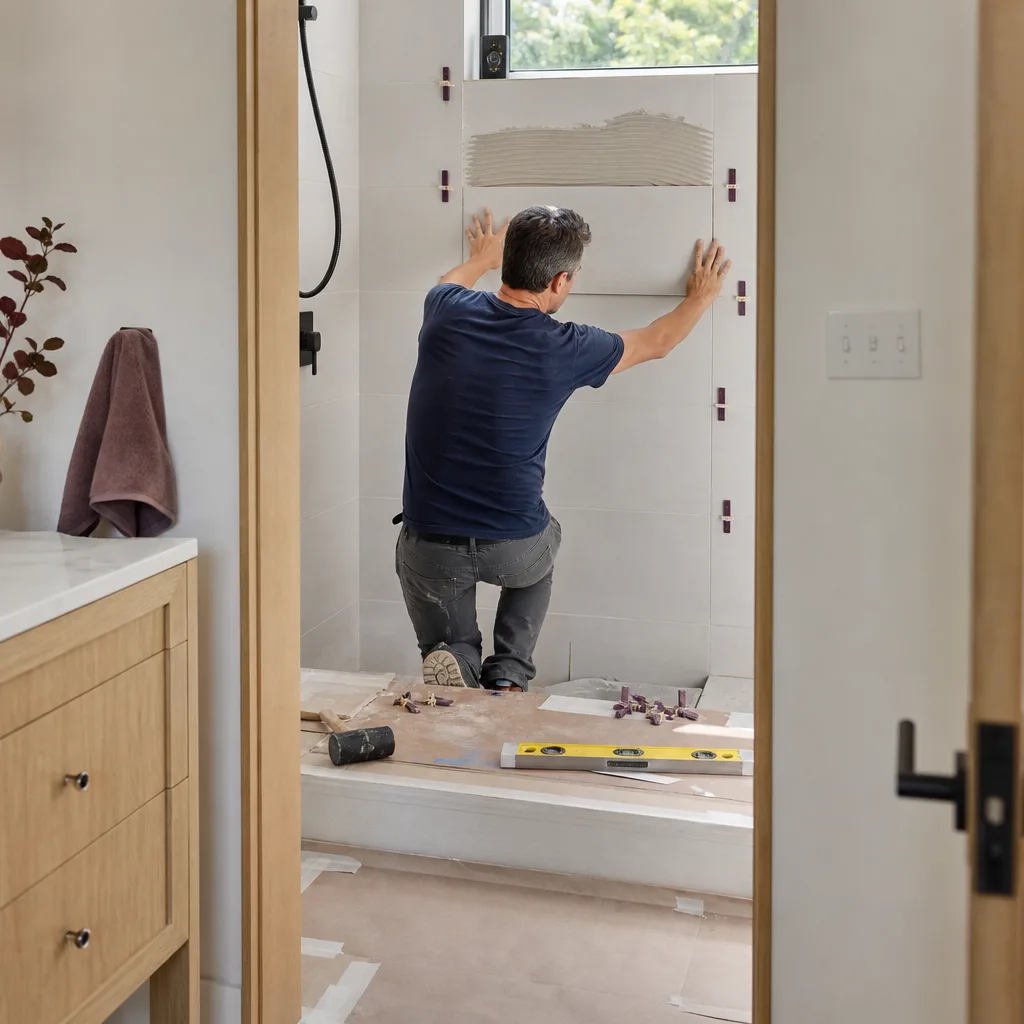
- Tile debonding (hollow tiles) – improper thinset coverage or curing. Tiles need 80 to 90 percent thinset contact on drywall or cement board. When a tile was set with blob-and-dot technique instead of a full comb, it pops loose within a few years.
- Persistent mold at grout lines – failed waterproofing membrane behind the tile. Water gets behind the tile, saturates the cement board or substrate, and feeds mold from the back of the wall out to the grout line.
- Slow drain – improper slope on the shower pan or a partial blockage at the P-trap. A properly sloped pan drops 1/4 inch per foot toward the drain. A flat pan collects standing water and eventually leaks through the original waterproofing.
- Bathroom fan inadequacy – CFM undersized for the room volume. Code-minimum fans for small bathrooms are typically 50 CFM, but a bathroom over 100 square feet with a shower needs more. An undersized fan leaves humidity in the room after showers, and in a Miami Gardens bathroom that is a mold problem waiting to happen.
In our experience, the fastest way to know which failure you’re facing is to remove a little finish and look. That’s what our Rowan Construction Group Miami Gardens home crews do on every diagnostic visit, and the photo record they leave behind shows the customer exactly what they found. If you’re planning a larger renovation and haven’t yet committed to a contractor, our guide to Home Additions & ADU in Miami Gardens covers how that conversation starts.
Why Does Grout Crack Near the Shower Drain?
Grout near a shower drain cracks because the floor is deflecting under foot traffic, not because the grout mix was wrong. Grout is a cement product with very little flexibility. If the substrate below it moves even a fraction of an inch, the grout cracks along the stress line, and that stress line almost always runs into the drain because the drain is where the pan slopes, the substrate transitions, and the water concentration is highest.
Three things cause deflection around the drain:
- Insufficient plywood thickness – tile floors typically need a minimum of 1-1/4 inches of plywood underneath cement board. A bathroom remodel that skipped a layer, or was built over a floor system that’s undersized for the joist span, will flex with every step.
- Improper thinset under the pan – a pre-sloped shower pan needs a full mortar bed underneath it. If the pan was set on a few dabs of adhesive instead of a solid bed, the middle of the pan flexes when you stand on it.
- Movement at the drain connection – if the drain body isn’t properly clamped to the membrane or bedded solid in the pan mortar, it rocks. A rocking drain cracks grout in a ring around it.
Here’s the hard part: you can’t tell which of these is the cause without opening the tile. In Miami Gardens homes we’ve worked on, the fix almost always involves removing a section of tile around the drain, verifying the pan and drain bedding, and rebuilding that section correctly. Repointing the crack with grout or silicone hides the symptom for a few months and then the crack returns.
How to Find Tile Debonding With a Tap Test
A tap test finds hollow tiles before they pop. It’s the single most useful diagnostic a homeowner can run without opening up anything. You need a plastic-handled screwdriver or a coin, and about ten minutes.
- Tap every tile, one at a time. Use the handle of the screwdriver or the edge of a coin and tap lightly at the center and then each corner. A solid tile produces a sharp, flat click. A debonded tile produces a dull, hollow thunk.
- Mark what sounds hollow. Painter’s tape or a pencil mark. Count the hollow tiles per wall or floor.
- Calculate the percentage. Divide hollow tiles by total tiles on that surface. Under 5 percent, isolated spot repair is defensible. Between 5 and 15 percent, you need a substrate assessment of that wall or floor. Over 15 percent, the substrate or the installation technique failed across the whole surface, and spot repair just postpones a full replacement.
- Check the hollow tiles for movement. Press firmly on any hollow tile. If you can feel the tile rock even slightly, water is already getting behind it.
Hollow tiles trapping water behind them are a specific risk in wet areas: the trapped moisture can’t evaporate, so it stays against the substrate and around the waterproofing membrane. A small hollow patch on an interior wall is a cosmetic nuisance. A hollow patch on a shower wall or floor is a leak in progress.
Why Mold Grows at Grout Lines Behind the Tile
Mold at grout lines means the waterproofing membrane behind the tile has failed, not that you’re not cleaning enough. Grout is porous. Under normal shower use, water passes through the grout into the bed behind the tile. On a properly built shower, a continuous waterproofing membrane redirects that water back down to the drain. On a shower where the membrane has a gap, a tear, or a corner that wasn’t properly lapped, that water saturates the cement board behind the tile and mold grows from the back of the wall out to the grout line.
Miami-Dade has a specific moisture problem that amplifies this. In South Florida, exterior walls carry a dew-point differential: the interior air is air-conditioned to around 72 to 75 degrees Fahrenheit, while the exterior wall surface can hit the high 80s with 80-plus percent relative humidity. When warm, humid exterior-wall air migrates toward the cool interior surface, moisture condenses inside the wall assembly. If the vapor barrier on the exterior-facing bathroom wall was omitted or installed on the wrong side of the wall assembly, that condensed moisture has nowhere to go but into the substrate behind the tile. We’ve seen showers on exterior walls in Miami Gardens grow mold six to nine months after a remodel, while identical showers on interior walls in the same house stayed dry for years.
The short version: mold at grout lines on an exterior-facing shower wall in South Florida is a vapor barrier problem, not a cleaning problem. The repair requires removing the affected tile, opening the wall to inspect and correct the vapor barrier, replacing the saturated cement board, and re-waterproofing properly before tile goes back up. Cleaning the grout doesn’t touch it because the mold is on the other side.
Slow Drain vs. Improper Shower Pan Slope
A slow drain is either a partial blockage at the P-trap or an improperly sloped shower pan, and the two are easy to confuse. The diagnostic is to watch what happens with no water flowing. Fill a bucket and pour it directly onto the pan floor, away from the drain, and watch the water move toward the drain.
- Water puddles in a ring or dish shape and doesn’t reach the drain for several minutes – flat or reverse-sloped pan. The original installer didn’t achieve the 1/4-inch-per-foot slope (2 percent grade) mandated by the plumbing code.
- Water reaches the drain but drains slowly – partial obstruction at the P-trap or in the drain tailpiece. Hair, soap scum, and, in older Miami Gardens homes, calcified buildup from years of hard water.
- Water stands evenly and drains fine when it’s deeper, slowly when it’s shallow – the pan slope exists but the drain strainer is partially covered or undersized.
A flat pan can’t be corrected without removing the tile and rebuilding the mud bed, which means tearing out the shower floor and remediating the pan. A blocked P-trap is a drain-cleaning job. The two look similar from the shower floor and cost an order of magnitude difference to fix, so confirm which one before you commit. This is also where the money question comes up. In our experience, a properly rebuilt shower pan with new waterproofing and tile runs $3,500 to $7,000 in Miami Gardens, which is the threshold where many homeowners decide to redo the entire shower at the same time. That’s a genuine decision point, not a sales tactic, and we’re honest with customers when the numbers point to full replacement instead of spot repair.
Why Your Bathroom Fan Is Undersized
A bathroom fan that’s too small for the room leaves moisture behind after every shower. The fan should move the entire room volume of air at least eight times per hour. Here’s the math: multiply the bathroom’s length by width by height to get cubic feet, divide by 7.5, and that’s the minimum fan CFM.
- A 5-by-8 bathroom with an 8-foot ceiling (320 cubic feet) needs a minimum of 43 CFM. Most builder-grade fans are 50 CFM, which is adequate.
- A 10-by-10 bathroom with an 8-foot ceiling (800 cubic feet) needs 107 CFM. Many homes in Miami Gardens still have the original 50 CFM fan in that bathroom.
- A bathroom with a separate wet room, jetted tub, or two showerheads needs its fan sized to the volume plus a margin of 20 percent.
Fan adequacy is a ventilation problem, but the failure it causes is a waterproofing problem: an undersized fan leaves shower humidity in the room long after the shower, and the humidity finds its way into the wall assembly. If your mirror is foggy 20 minutes after a shower, or the ceiling above the shower is discolored, the fan needs replacing before you spend money on tile. A bathroom fan swap with a properly sized unit that ducts out through the roof is typically a one-day project, and we handle it within the same scope as a remodel so the air quality issue is solved before new tile goes in. If you’re doing a broader home improvement project and want to coordinate ventilation with other work, our Fence Installation in Miami Gardens guide shows how we sequence adjacent projects so they don’t overlap badly.
Repair Cost Framework: What Each Fix Actually Costs
Repair cost depends almost entirely on what’s behind the tile. Here is the honest range in the Miami Gardens market, listed from least invasive to most:
- Spot grout repair or recaulk – $150 to $400. Addresses a single cracked grout line or a failed caulk joint at a shower corner or tub edge. Appropriate when the tile around it is solid and the pan holds water.
- Partial tile replacement with matching tile – $500 to $1,500. Removes a small area of damaged tile (a few square feet), replaces the substrate and waterproofing locally, and sets matching tile. Matching dye lot is the difficult part; older tile is frequently discontinued, which pushes the price toward the top of the range.
- Full shower pan tear-out and re-waterproof – $3,500 to $7,000. Removes the entire shower floor tile, the mud bed, and the waterproofing membrane; rebuilds with a properly sloped pan and continuous membrane; reinstalls tile. This is the threshold repair for flat pans and failed pan waterproofing.
- Full shower gut and redo due to substrate failure – $8,000 to $18,000. Removes all tile, wall substrate, and shower pan; corrects framing, substrate, vapor barrier, and waterproofing; rebuilds essentially the entire shower. This is where we land when a tap test shows over 15 percent hollow or when mold has penetrated the wall cavity.
The rule of thumb: if the remediation cost exceeds roughly half the cost of a full replacement, and the shower is more than fifteen years old, full replacement is the better economics. When you’re considering overhauling other rooms at the same time, a bathroom remodel budget is easier to plan alongside a driveway or paver project, and our Driveway & Pavers in Miami Gardens page breaks down how exterior and interior projects are quoted side by side. Every quote we write is a flat, written price with a written scope before work begins, and no change proceeds until the change order is signed. We usually see projects land within a few percent of the agreed number because of it.
How to Document a Contractor Defect for a CILB Complaint
If a prior contractor’s work caused the failure, you can pursue a complaint through the Florida Construction Industry Licensing Board (CILB), or a claim against the contractor’s surety bond or insurance policy. What you can’t do is win either without documentation. Here’s what to collect, starting the day you discover the problem.
- Photo and video documentation, dated. Photograph the failure from multiple angles on the day you find it. Include close-ups of any damage, wide shots showing the room in context, and a photo of a newspaper or phone screen showing the date.
- Contractor’s original contract, invoice, and warranty. The written scope of work is what defines whether the contractor did what they were paid to do. If you don’t have it, request it from the contractor in writing.
- Written communication timeline. Send the contractor a written notice (email or certified letter) that describes the failure, attaches the photos, and demands a response within a specific number of days. Keep every response.
- An independent inspection. A licensed contractor or building inspector can produce a written report identifying the failure and its likely cause. This is what supports a CILB complaint or a claim against the surety bond.
- The two-year clock for latent defects. Florida Statute 95.11 gives you two years from the time you discovered the latent defect (or should have discovered it with reasonable diligence) to file suit. The clock can run differently for different defect types, so treat the two-year window as your working deadline and file the CILB complaint or bond claim early rather than waiting to see whether the contractor responds.
CILB complaints are filed through the Florida Department of Business and Professional Regulation. A surety bond claim is filed against the bonding company listed on the contractor’s license. We’ve walked customers through both, and the fastest-moving files are the ones with a dated photo record and a written communication trail. Under the Haven Standard, every visit we make includes a documented photo record as a standard deliverable, not an upgrade, which is exactly because the record matters more than three years after the job is closed.
Common Mistakes to Avoid
- Repointing a crack without checking the substrate. A grout crack near a drain returns within months if the deflection underneath it was never corrected. Re-grouting is a $200 fix on a $4,000 problem and it doesn’t fix the problem.
- Setting tile over a flat shower pan. A pan with no slope won’t drain no matter how good the tile job looks. Slope is set in the mud bed and the waterproofing layer, not on top of the tile.
- Skipping the vapor barrier on exterior-facing bathroom walls. This is the single most common failure we see in Miami Gardens. South Florida humidity drives condensation from the warm exterior into the cool interior wall, and a missed vapor barrier means mold behind the tile within a year.
- Using builder-grade 50 CFM fans in large bathrooms. A bathroom over 100 square feet with a shower needs 100 or more CFM to clear humidity. Undersized fans push the moisture problem into the wall assembly.
- Accepting a verbal scope of work. Every repair needs a written scope of work and a flat written price before work starts. A contractor who won’t put the number in writing before work begins is a risk no matter how the reviews look.
- Waiting to file a claim against a prior contractor. The two-year window for latent defects under Florida Statute 95.11 starts when you discover the defect, not when you get around to calling an attorney. File early.
- Ignoring a hollow sound on a tap test. A hollow tile today is a debonded tile within a year, and a debonded tile in a wet area is a leak into the substrate. The tap test is free and takes ten minutes.
See the difference
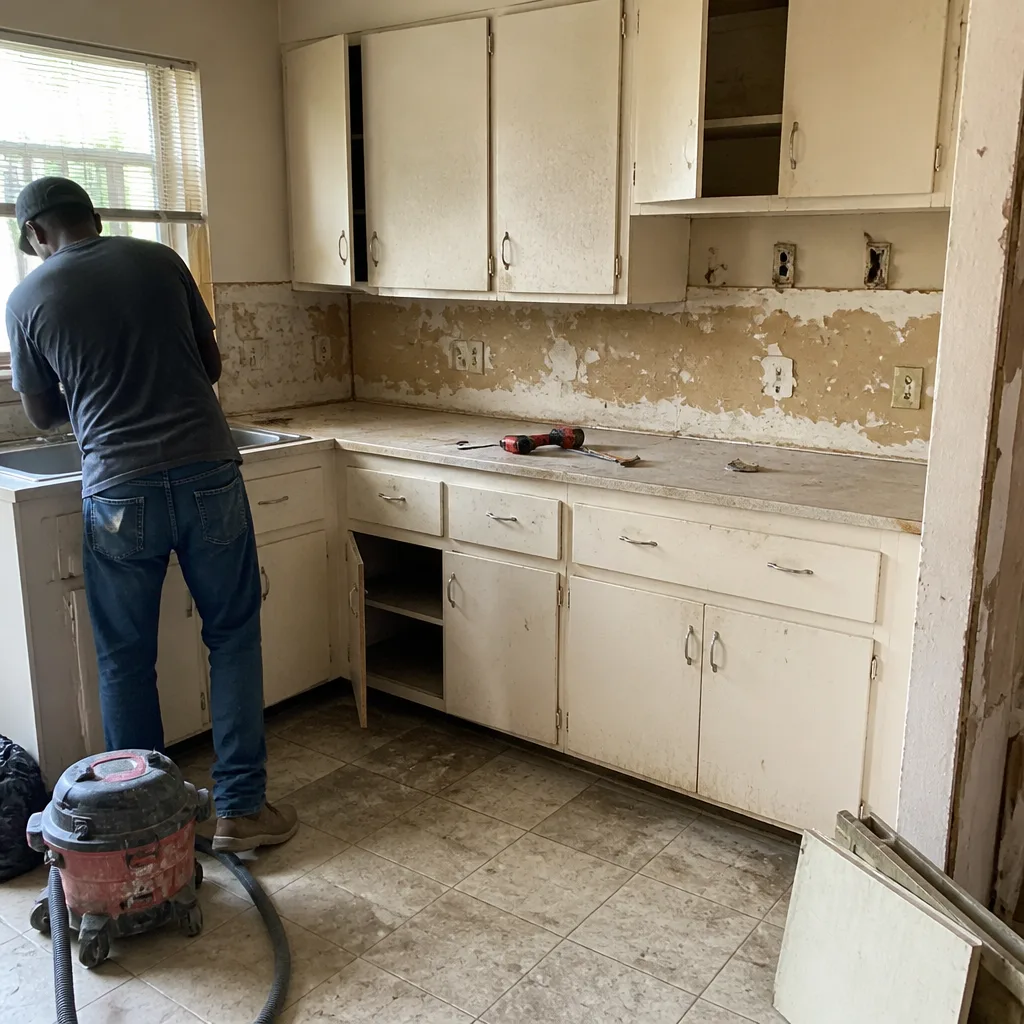 Before
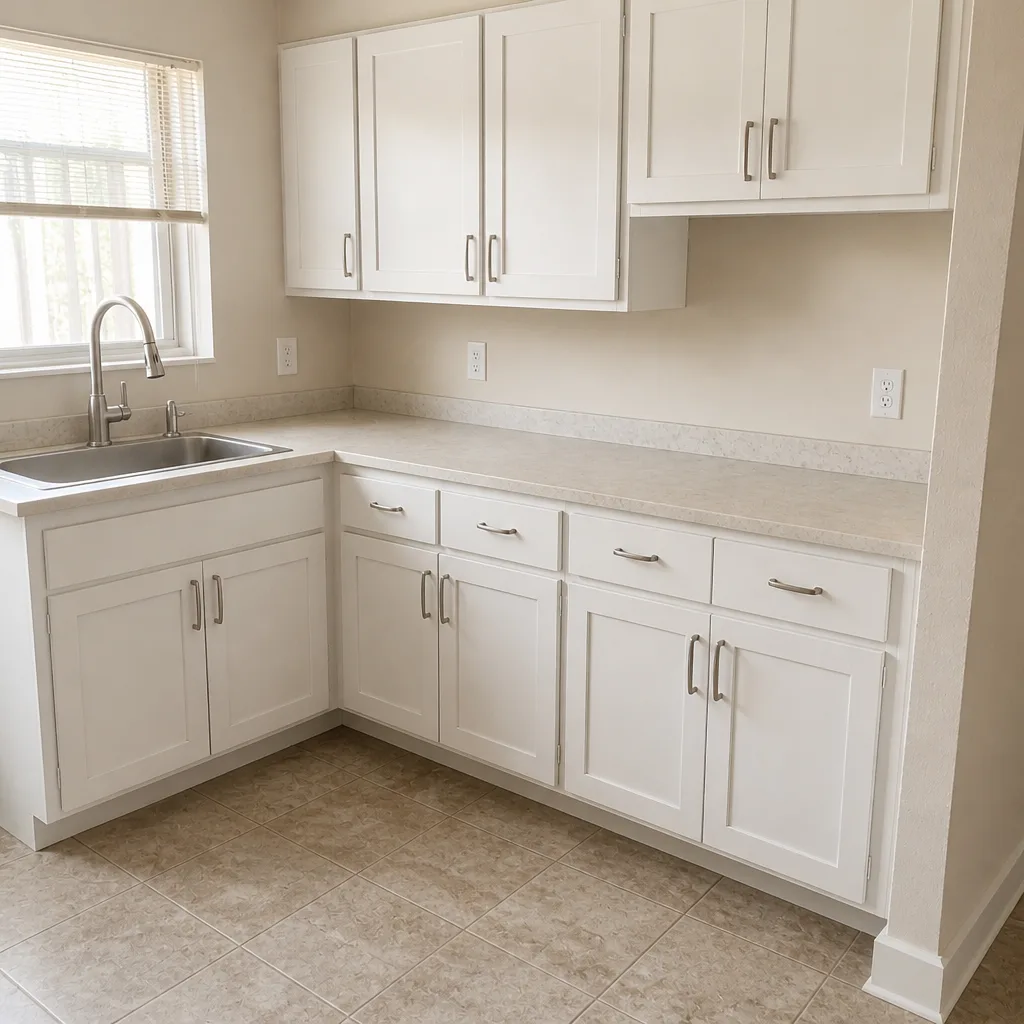 After
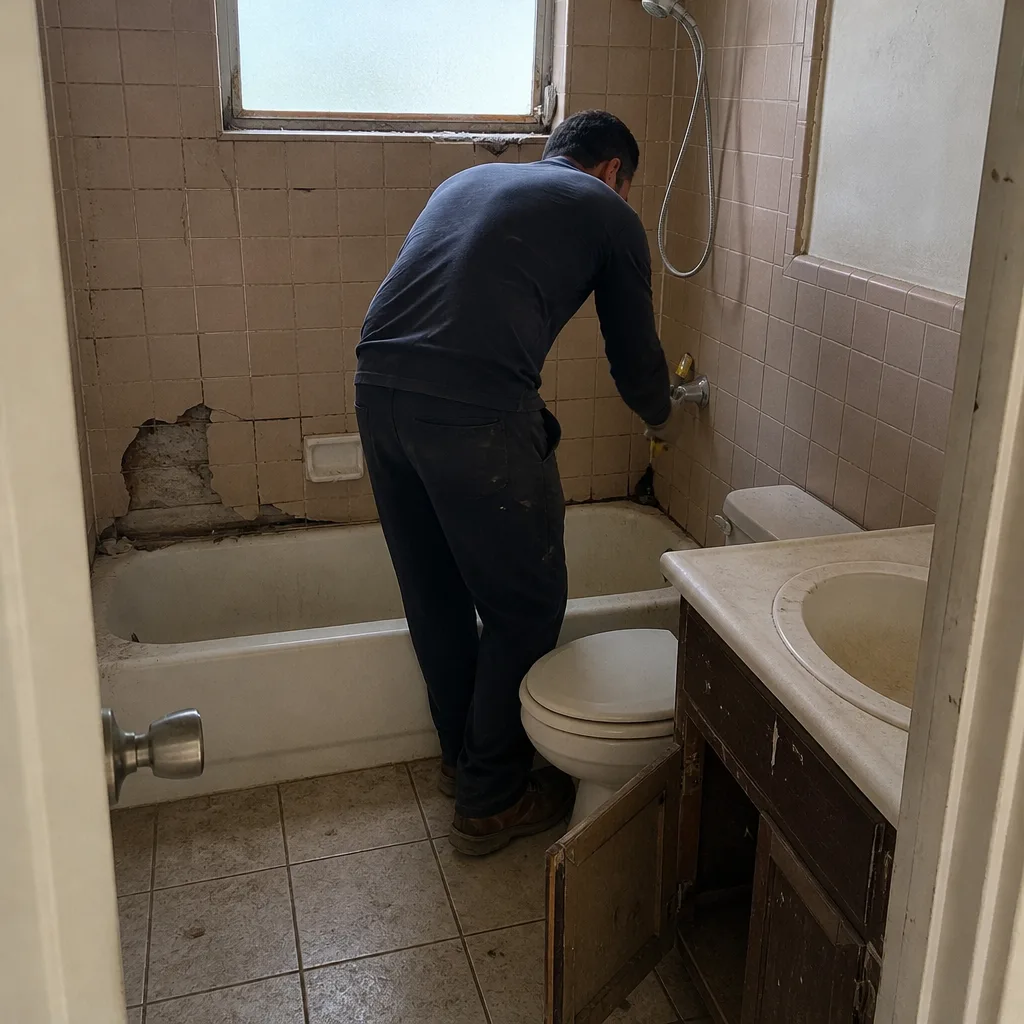 Before
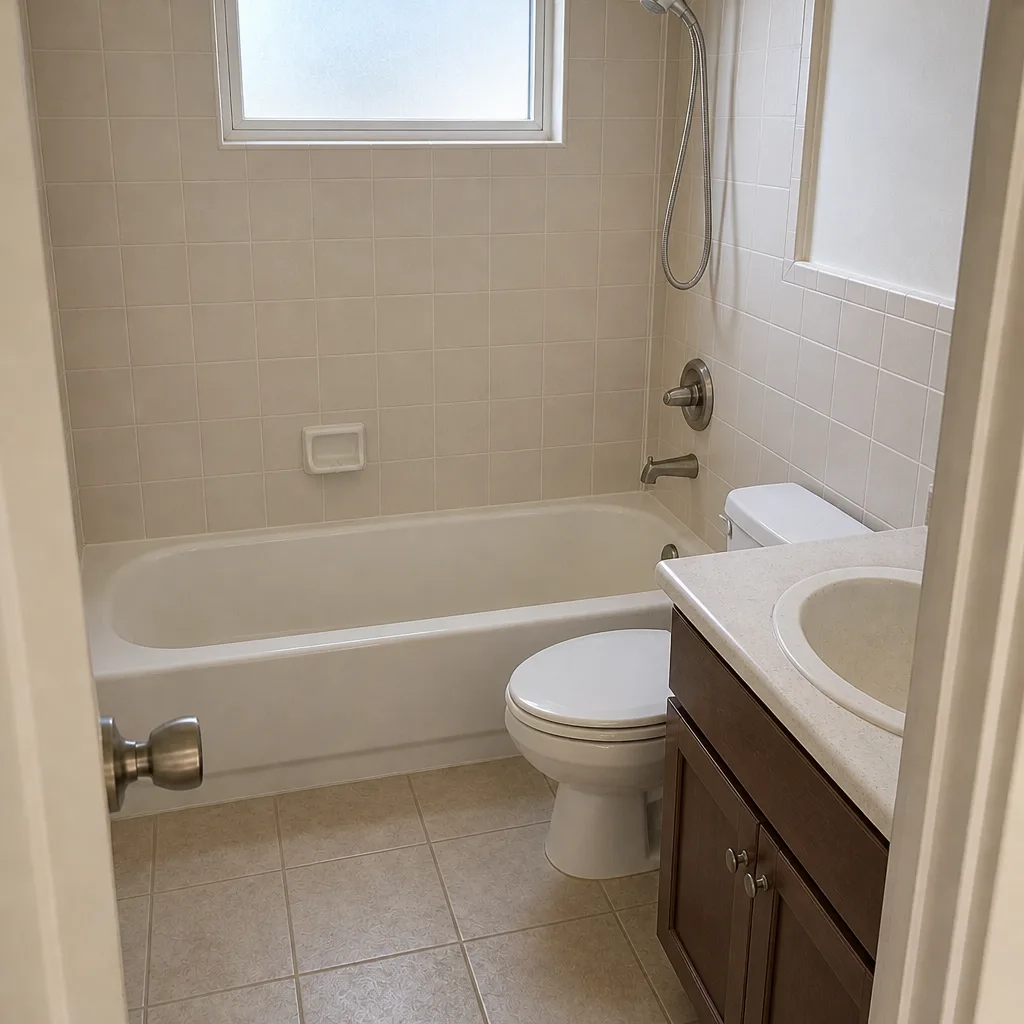 After
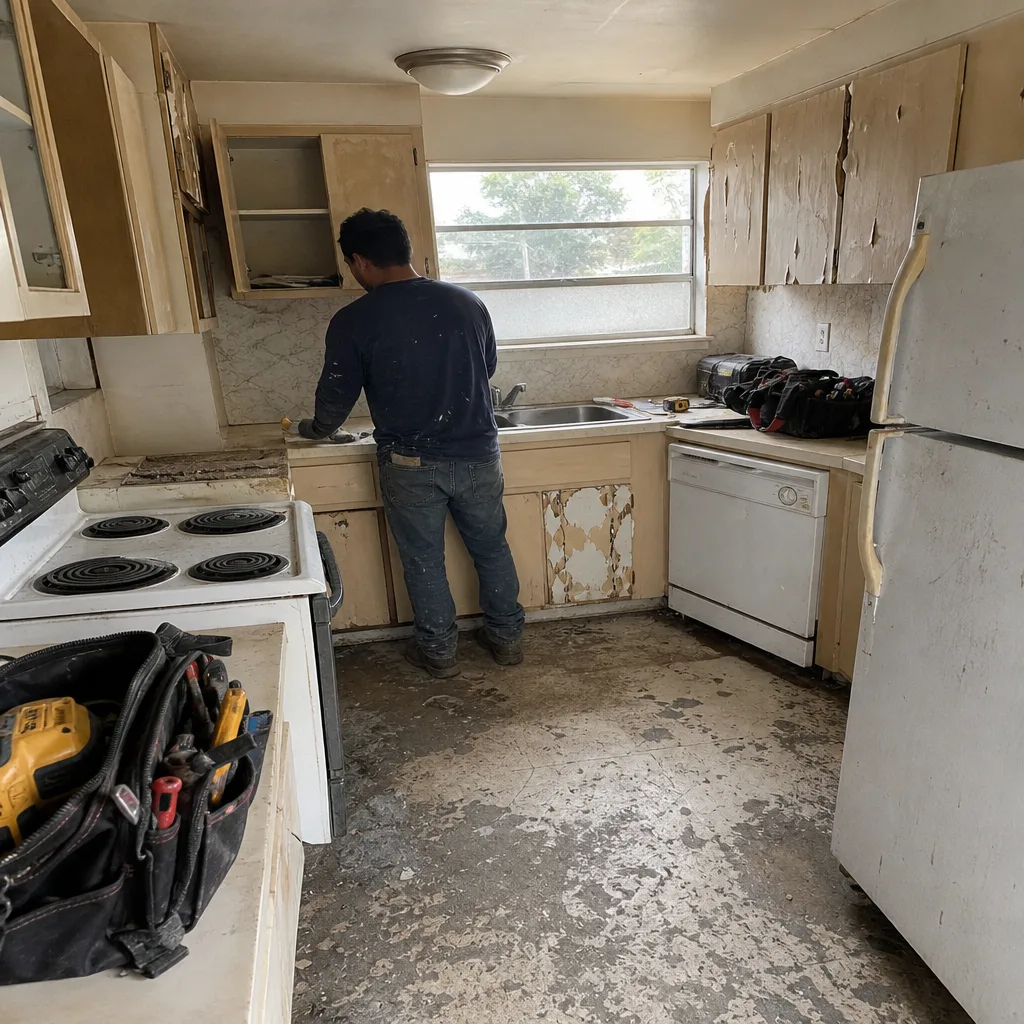 Before
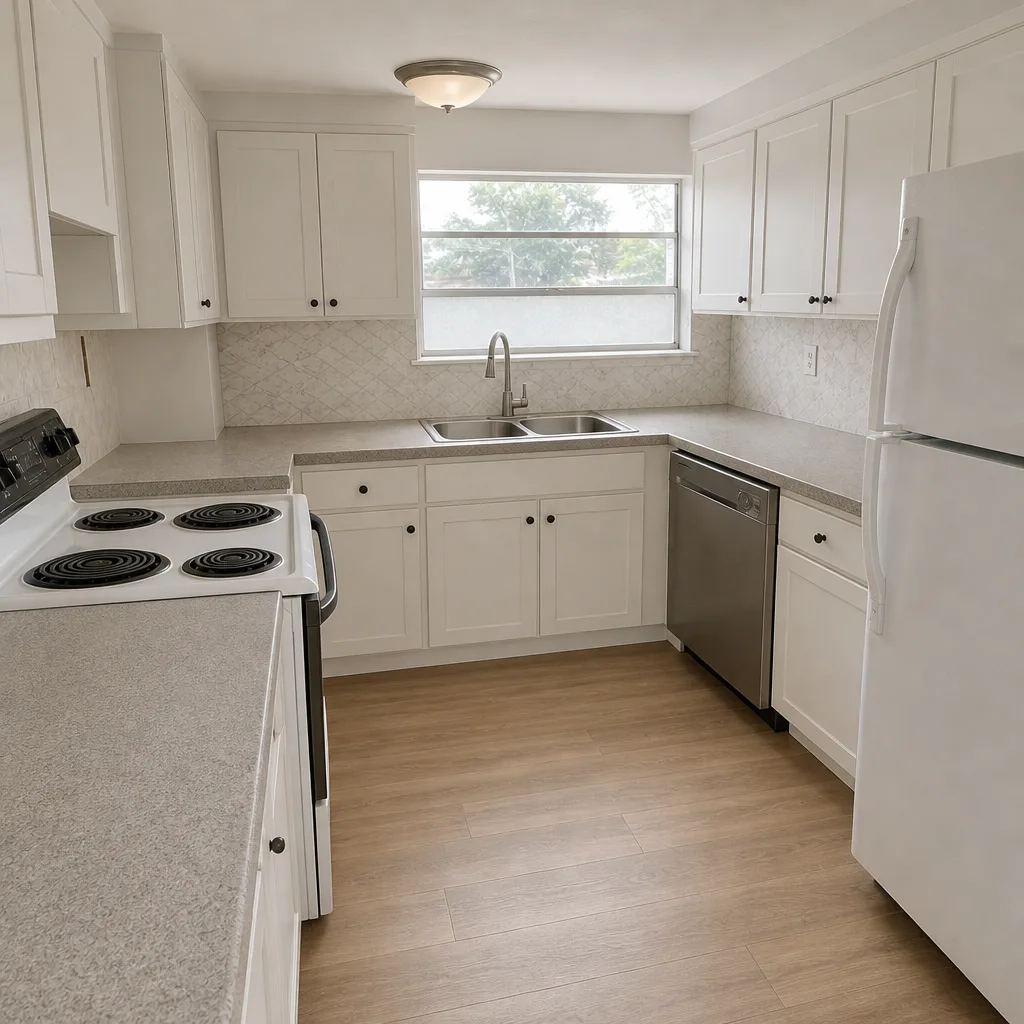 After
When to Call a Professional
Call a professional the moment a tap test shows displacement or hollow tiles on a shower wall or floor, when grout cracks recur after repointing, when the ceiling below a second-floor bathroom shows any discoloration, or when mold appears at grout lines on an exterior-facing wall. Those five situations all point to hidden damage that has to be opened up and inspected. If you want a second opinion on a prior contractor’s work, we’ll review any written estimate line by line at no charge, and we’re clear about what we see regardless of whether it points to a repair we’d quote. Rowan Construction Group Miami Gardens offers free estimates in Miami Gardens, including a written scope of work and a flat written price before any work starts. Call (844) 320-5198 to schedule yours.
Frequently Asked Questions
A full shower pan tear-out and re-waterproof in Miami Gardens runs $3,500 to $7,000, which includes removing the shower floor tile, the mud bed, and the failed waterproofing membrane, then rebuilding with a properly sloped pan and continuous membrane. Spot repairs on isolated issues start at $150. Call (844) 320-5198 for an exact quote, and every estimate is free.
Mold returns because it’s growing behind the tile, not on the grout surface. A grout cleaner kills the visible mold on the front of the wall, but the mold spores on the back side of the membrane stay there, and the moisture source stays there too. Cleaning addresses the symptom. The failure is in the waterproofing membrane or the vapor barrier, and the fix requires opening the wall.
Water intrusion from a defective shower installation is typically covered by the contractor’s warranty, surety bond, and Florida law if it was installed by a licensed contractor. Florida Statute 95.11 gives you a two-year window from the date you discover the latent defect to pursue the claim. Call (844) 320-5198 to schedule a diagnostic visit and get the failure documented.
It might not. Tile manufacturing runs on dye lots, and lots from a given line are discontinued as short as twelve months after the last production run. When partial tile replacement is the plan, matching the tile is the highest-risk part of the job, and our written quote identifies that risk and its cost range upfront rather than on the back end.
An undersized fan leaves humidity in the room. To check yours, measure the bathroom in cubic feet (length times width times height) and divide by 7.5. The resulting number is the minimum CFM. If the fan on the ceiling is smaller than that number, it’s undersized and should be replaced before you spend money on tile or paint.
Yes. Bathroom Remodeling is one of our seven residential construction trades, and we quote every project with a flat written price and written scope before work starts. No change proceeds on a change until the change order is signed. Call (844) 320-5198 for a free estimate, and we’ll deliver a written price you can screenshot and compare before you commit.
The Bottom Line
Bathroom remodel failures don’t start with the tile. They start behind it, in the substrate, the waterproofing membrane, the drain connection, the pan slope, and the ventilation. A tap test and a bucket of water on the shower floor will tell you more in ten minutes than any amount of grout resurfacer will tell you in a year. The repair cost ranges from $150 to $18,000 depending on how deep the failure runs, and knowing which end of that range you’re facing before you call a contractor is the single best thing you can do for your budget. If you want a written second opinion on a prior quote or a fresh written price, we’re here for that.
Schedule a Free Estimate

Call (844) 320-5198 to schedule your free estimate. Every quote from Rowan Construction Group Miami Gardens is a written, flat price with a written scope, a written warranty, and the 365-Day Done Right Promise backing it. If a repair ever fails, we come back and make it right. That’s not a slogan; it’s the terms page, and you get a copy on day one. Whether you’re facing a $200 grout repair or an $18,000 shower rebuild, we’ll tell you what we found and what it costs before any tool comes out of the truck.
Written by the team at Rowan Construction Group Miami Gardens.