Last updated November 18, 2026



Free written scope consultation - allowances, timeline, and change-order rules on paper before a single trade is scheduled
Driveway & Pavers Warning Signs Every Homeowner Should Know
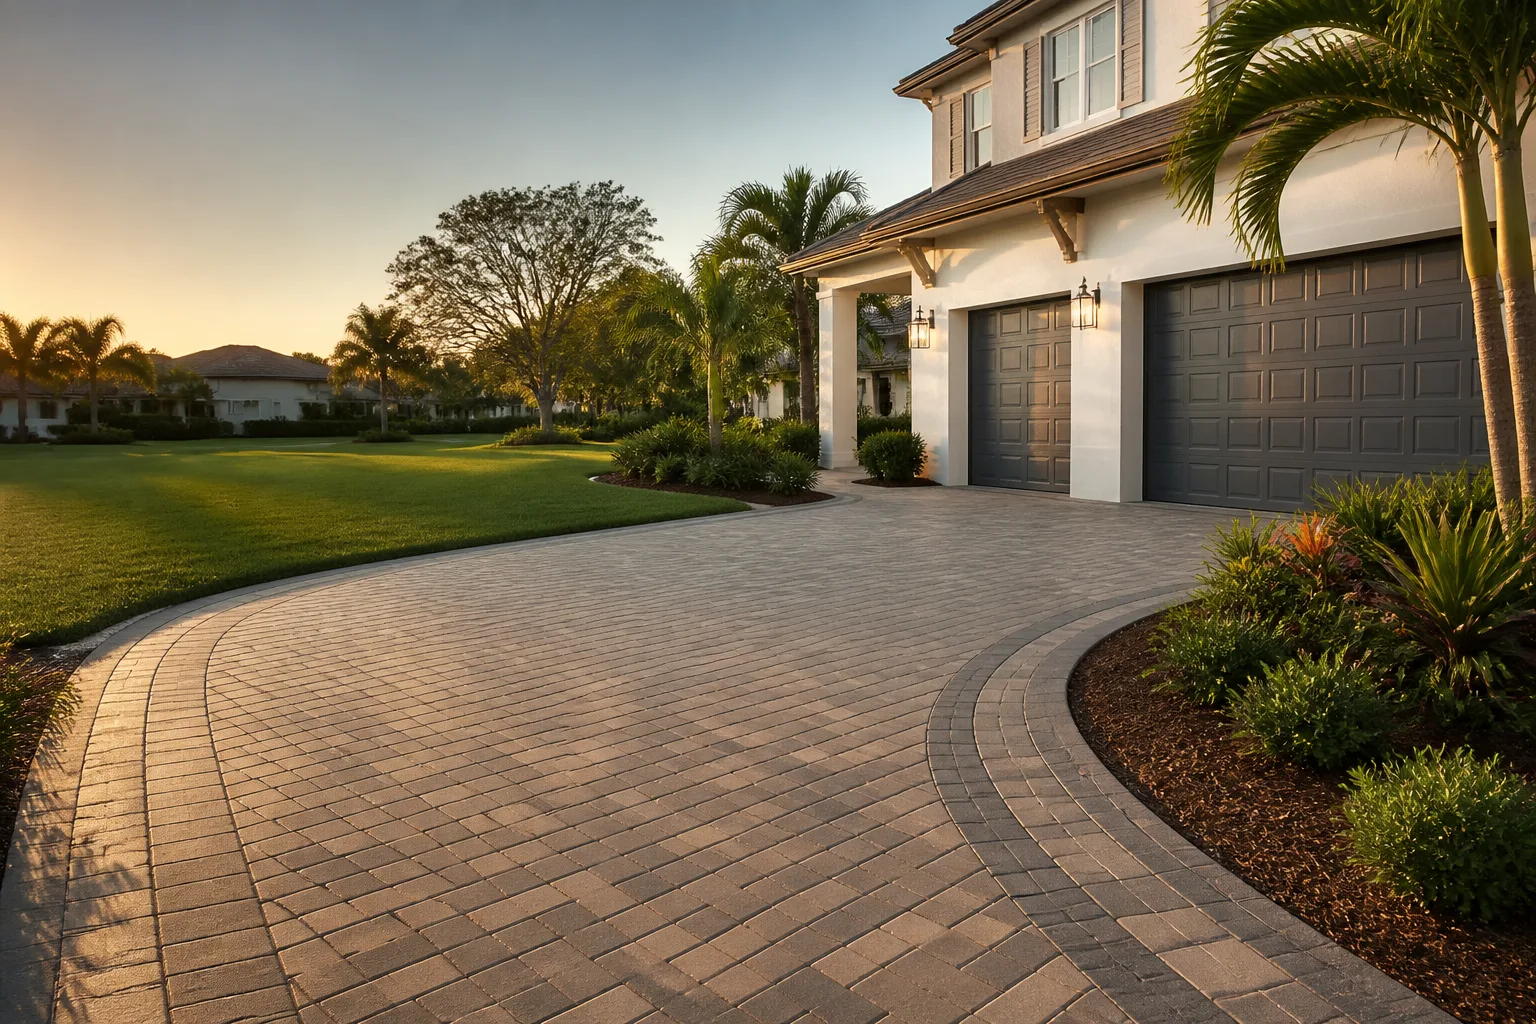
Water pooling anywhere on a paver driveway that wasn’t there when the installation was finished is not a cosmetic problem. It means the base has moved and the drainage pitch has changed, and every rainstorm that sits on that surface accelerates the base failure underneath it. Most homeowners call us when a paver has already cracked or a car scrapes the apron. The failure started twelve to eighteen months earlier, in ways that were visible and cheap to address. This guide ranks those early signals into three groups: monitor it, get a quote this month, and stop driving on it now. We’ll show you how to measure and photograph displacement, how to tell expected joint sand erosion from structural bedding sand washout, and what to put in a written report so the quote you get from a Miami Gardens contractor addresses the actual problem.
Quick Answer
The warning signs of a failing paver driveway fall into three severity tiers: cosmetic (joint sand loss, moss in the joints, minor efflorescence), repairable (rocking pavers, edge separation, water pooling after rain, sand bleeding up through the joints), and stop-driving (visible base settlement, heaving after flooding, pavers sinking under tire tracks, loose pavers lifting at the edge). A single rocking paver in a sound field is a repairable nuisance. A depression under a tire path is a base failure, and it will spread. The difference matters because a repair quote costs hundreds and a full replacement costs thousands.
Styles & brands we work with
- Kitchen remodeling
- Bathroom remodeling
- Home additions & ADU
- Roofing
- Windows & doors
- Driveway & pavers
- Fence
Table of Contents
- The Three Severity Tiers of Paver Problems
- Water Pooling: The Signal That Matters Most
- Joint Sand Erosion vs. Bedding Sand Washout
- Why Edge Pavers Separate Before Interior Pavers
- How to Measure and Photograph Paver Displacement
- What to Check After Every Heavy Rain in Miami Gardens
- What to Include in a Written Report to a Contractor
- Miami Gardens Climate and Soil: Why Pavers Fail Here
The Three Severity Tiers of Paver Problems
Homeowners who research pavers before calling often get one of two answers: “that’s normal, don’t worry” or “you need a full replacement.” Neither is useful. What you actually need is a triage system, and it looks like this.
Tier 1: Monitor
- Joint sand sitting slightly low between pavers in one area
- Moss or weeds in a few joints
- Light efflorescence (a white, chalky film on the paver surface)
- Paver color fading from UV exposure
These are expected changes over time and cost little to keep an eye on. None of them indicate structural movement.
Tier 2: Get a Quote This Month
- Water pooling anywhere it didn’t pool six months ago
- Pavers rocking when you step on them
- Sand bleeding up through joints and forming lines after rain
- A visible gap opening between the driveway field and the edge restraint
- One paver sitting noticeably higher or lower than its neighbors
These indicate the base layer or edge restraint has shifted. A repair is straightforward when caught at this stage.
Tier 3: Stop Driving On It Now
- A settling depression under a tire path, even a shallow one
- Pavers heaving or lifting after a heavy rain event
- A caved area with loose pavers you can lift by hand
- Visible rutting where vehicle weight has compacted the base below the field
Driving on these accelerates base failure each time a vehicle parks. Move cars to the street and call for a professional assessment before the next rainfall. This is especially true in Miami Gardens, where afternoon thunderstorm runoff arrives fast and sits on any low point that hasn’t drained properly.
Water Pooling: The Signal That Matters Most
A paver driveway is engineered with a slope, usually between 1 and 2 percent away from the structure. When that slope is right, water sheets off within minutes of a storm and reaches the street or a drainage swale without accumulating. When it isn’t, water sits. Sitting water is the tip-off that the base has moved, and the base is what holds the pavers in position. The pavers themselves are rarely the problem. They’re sitting on a bed of sand, which is sitting on a base layer of compacted aggregate, and that aggregate can migrate when it gets wet and there’s no restraint holding it in place.
In Miami Gardens, we routinely see pooling at the transition where the paver driveway meets the sidewalk apron. That seam is where tree roots, irrigation running against the edge, and a failed edge restraint all combine. The pooling alone looks minor. But water that sits eats away at the base layer beneath until the pavers have nothing solid under them.
What to do:
- Note where the pool forms and how deep it gets at its lowest point (a tape measure works; 1/4 inch is cosmetic, 1/2 inch or more is a repair).
- Check whether the pool drains within 24 hours after rain stops. Water that lingers for days means the base is actively holding it.
- Photograph the pool with a ruler or a shoe in the frame for scale.
- Compare to a photo from the same spot after the next rain; if the pool grows or stays the same size, the drainage pitch has changed.
Joint Sand Erosion vs. Bedding Sand Washout
The single most confused pair of categories in paver troubleshooting is joint sand and bedding sand. They are not the same, and the treatment is different.
Joint sand fills the narrow channels between the pavers. It’s a routine wear item. After a year or two, rain and vehicle traffic displace some of it, and the joints start to look shallow. Replacing it with a polymer sand is maintenance, not a repair, and it costs a few hundred dollars at most. Another expected result: a thin haze of fine sand washing up onto the surface after a heavy downpour, called “bleeding.” That’s fine. The joint sand is doing its job.
Bedding sand is the layer directly under the pavers, usually 1 inch thick, sitting on top of the base aggregate. If you can see it in the joints, you’re not looking at joint erosion; you’re looking at bedding sand being forced upward, which means the joint sand has washed away completely and water is now pumping under the paver field. That’s a repair, not maintenance.
How to tell the difference
- Joint sand erosion: Joints look shallow; maybe 1/8 to 1/4 inch of sand missing. Sand falls out of the joint when you poke it with a screwdriver.
- Bedding sand washout: A mound of sand rising out of the joint line, often in a line following the slope. Pavers around it feel loose or the field shows a slight depression under foot.
- Giveaway test: Push a thin probe (a bamboo skewer or a coat hanger) into the joint. If it goes 1 inch deep before stopping, joint sand is gone. If it goes 2 to 3 inches and comes out wet, bedding sand has washed out and the base might be compromised.
Our technicians have up to 19 years of experience and one rule of thumb from those years: if you can push a probe more than an inch and a half into a joint and it comes out damp, the repair quote is justified.
Why Edge Pavers Separate Before Interior Pavers
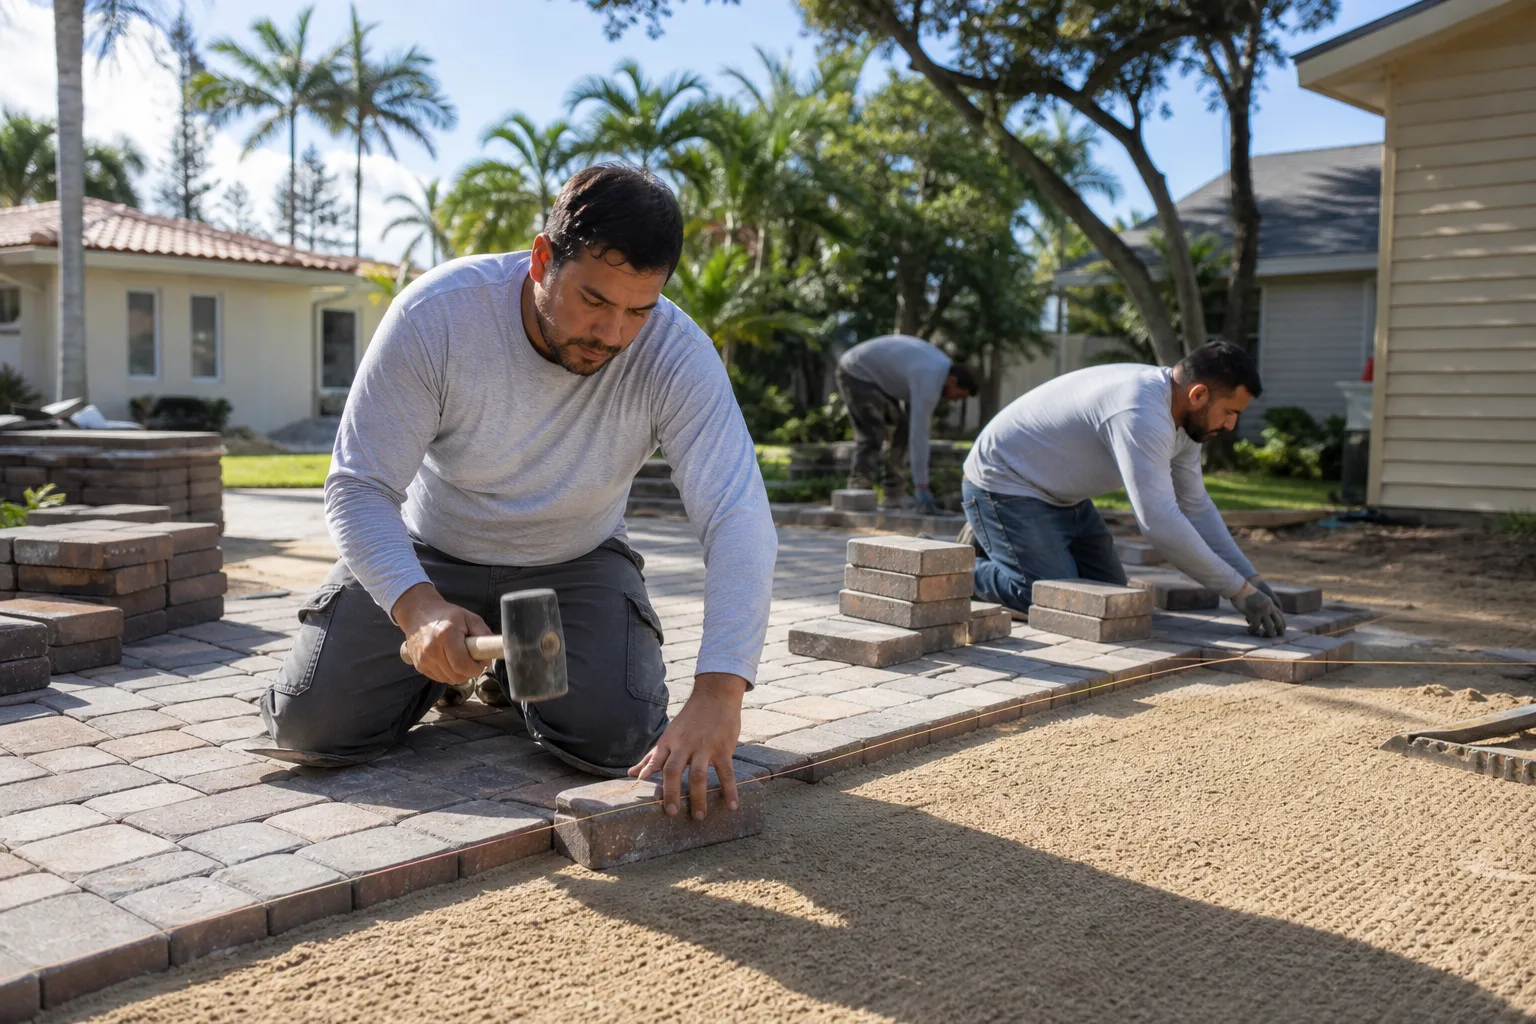
Edge pavers are the outermost course that runs along the driveway perimeter. They sit against an edge restraint, which is usually a poured concrete lip or a plastic fastener system pounded into the soil. That restraint is what holds the entire paver field in place. When it fails, the edge pavers are the first to move. Once they separate, a gap opens, water gets into the seam, and it travels through the paver field acting as a wedge every time it rains. Over a season or two, the interior pavers start to shift as water finds its way to the base beneath.
The progression usually follows this sequence:
- Stage 1: Edge pavers start to look loose when you step on them. The seam between the field and the restraint opens roughly 1/8 to 1/4 inch.
- Stage 2: A gap appears at the transition between the edge course and the field, and joint sand starts to wash out along that seam.
- Stage 3: A wider gap opens, sand bleeds onto the surface, and you can see the edge restraint pulling away from the pavers. Water enters freely.
- Stage 4: Interior pavers along the perimeter have visible displacement. The base under them is failing as water travels inward.
In Miami Gardens, the edge restraint is most often undermined by irrigation lines running alongside the driveway, tree roots pushing against the outer edge, or a slope that sends water running along the boundary. A landscape contractor who reinstalls a sprinkler head without resetting the edge restraint can trigger Stage 1 in a single afternoon.
What the progression tells you: the edge restraint that fails first is usually the one where water runs along the driveway perimeter, the one where the soil settles after heavy rain, or the one adjacent to a landscape bed that was trenched recently. That’s the edge to check first if you’re seeing displacement on only one side. If both sides are separating, the base is failing rather than just the restraint.
How to Measure and Photograph Paver Displacement
The homeowner who walks into a contractor’s office with a measured baseline gets a better quote. That’s not a sales point, it’s how the process works. A contractor looking at visible damage has to guess whether a paver failed last week or last year. A contractor looking at a baseline measurement with dates knows what the failure rate is, and can size the repair properly. Here’s the method we recommend.
The baseline measurement
- Pick a reference point. Use a fixed element that won’t move: the driveway apron at the sidewalk, a garage slab edge, or a set utility cover. Photograph the paver field from there.
- Lay a straight edge across the suspect area. A 4-foot level works well; a broom handle laid across the widest area is fine if you don’t have a level. Photograph it with a ruler alongside the gap underneath.
- Measure the joint width at 3 specific spots. Mark the spots with a small chalk line or a photo. Use a set of feeler gauges, or a piece of paper folded to the gap width and measured afterward with a tape measure. Record the number in a notebook with the date.
- Fill a small container with a known volume of water at a suspect joint. A 1-cup measuring cup works. Pour it into the joint and time how long it takes to drain. Fast drainage (under 10 seconds) means the joint sand is gone. Slow drainage (a minute or more) suggests the base isn’t draining, and water is trapped beneath the pavers.
- Repeat every 30 days and at the start of every wet season in Miami Gardens, which runs roughly May through October.
Photograph from the same position each time with a date stamp, or a handwritten card with the date showing in the frame. By month six, the photos show whether a joint width is stable or widening. A joint opening from 1/8 to 3/8 inch over six months is a clear signal the restraint and base need attention.
What to Check After Every Heavy Rain in Miami Gardens
Miami Gardens sits on a mix of sandy soil, limestone underpinning, and a water table that can be within a few feet of the surface during the wet season. That’s a different environment from what a contractor from the Midwest or the Northeast would design for. Pavers here should be installed with a minimum 4-inch compacted aggregate base, a filter fabric to prevent soil migration into the base, and a heavier edge restraint than you’d need in a drier climate. When those three things are done right, paver drives can hold up for two decades or more. When they aren’t, the failure curve is fast.
The spots we check after every storm:
- The apron transition where the driveway meets the sidewalk or street. Water drains here, and the edge restraint is under constant load.
- Downspout discharge points. Water concentrated in one spot will bore through joint sand in a season.
- Under irrigation heads beside the driveway. Sprinkler overspray onto the paver surface is the fastest way to strip joint sand.
- The garage slab edge. Separation between the driveway and the garage apron is the first sign the field has settled.
- Low points behind the garage. In Miami Gardens, a poorly graded rear drive slab can pool water that backs up against the foundation.
- Anywhere a vehicle is parked regularly. Tire tracks are where base compaction shows up first.
- Tree roots along the property edge. Ficus and oak roots in Miami Gardens can lift pavers within a few seasons if the installation didn’t account for them.
We’ve seen installations in the Hialeah and Miami Gardens corridor where a sprinkler head was reset by a landscape crew and water now discharges directly onto the paver field. Two months later the joint sand in that corner was gone and the pavers were rocking. Water is patient.
What to Include in a Written Report to a Contractor
The quote you receive is only as good as the report you provide. A contractor who receives “my driveway is broken” has to guess at the scope, and guessing means either an inflated number (“may need full replacement”) or an underbid (“we’ll just reset those pavers” and then discover the base is gone). Here’s the report structure that gets you a quote the contractor can trust, and one that holds under the Haven Standard’s clause 1, which puts the price in writing before anyone starts. Our written quotes are flat price with written scope and written warranty; a report in this shape makes that written scope precise rather than defensive.
- Photographs with dates. Wide shot of the whole driveway from the same spot each time, close-up shots of each suspect joint with a ruler or coin for scale, and one photo of the ground around the driveway edge showing the landscape condition.
- Measurement log. The joint width at each suspect point, the depth of any pool, the drainage timing of the water test, and the dates each measurement was taken.
- Water behavior notes. Where does water pool, how long does it stay, and does it appear after every storm or only after heavy ones? Note whether it lingers near the garage slab edge or drains away from the house.
- History of the driveway. When it was installed, whether the driveway has ever been sealed, whether it’s been pressure-washed and at what setting, and any landscape work adjacent to the driveway in the last 12 months. Pressure washing at high PSI strips joint sand, and a landscape trench near the edge can compromise the restraint.
- Vehicle weight. Are you parking a pickup or SUV regularly, or only a sedan? Heavy vehicles on a base that’s 2 inches thin will show failure faster.
- What you can feel underfoot. Can you feel a depression when you walk across the field? Does a rocking paver move under your weight or only when a car rolls over it?
- A hypothesis to test, not a conclusion. Say “I think the edge restraint on the east side has failed” rather than “the driveway needs to be replaced.” A good contractor will test both.
Bring that report and any written estimate from another contractor to Rowan for our Free Second Opinion. We’ll review it line by line at no charge and tell you which items are actually required for the scope. If you’re replacing a section of the driveway, this is also the moment to review drainage options for the perimeter with the same care you’d review any element of a project; the Driveway & Pavers service page walks through the base and restraint specifications we install to.
Miami Gardens Climate and Soil: Why Pavers Fail Here
The same warnings look different in Miami Gardens than they do in a cooler, drier climate. Two factors dominate. First, the wet season. From roughly May to October, Miami Gardens receives most of its annual rainfall in short, intense bursts. Water sits on a poorly drained driveway for hours and then evaporates, then rains again. That cycle repeats fifty times a season. Second, the soil. Sandy soil drains well but migrates. Limestone underlayment is stable but doesn’t absorb water. The combination means an edge restraint that would hold for ten years in a drier climate can fail in three in South Florida if the filter fabric between soil and base wasn’t installed correctly.
We also see a specific pattern in this region: heavy rainfall after a long dry spell. Water rushes into the joint sand and base at a rate the driveway wasn’t designed for, the bedding sand gets displaced, and the surface starts to show low spots at the edges. If your driveway was installed before the last major code update for stormwater management in Miami-Dade County, it may not have the perimeter drainage to handle a single-hour rainfall event. This is why the pool you see is not a maintenance issue, it’s a symptom.
Two things we don’t do: recommend a full replacement when a repair is the right answer, and recommend a repair when the base is gone. If you’re also planning other outdoor work – a fence, a home addition, an ADU – coordinate the driveway replacement or repair with the site work; a fence crew driving posts near the driveway perimeter can compromise an edge restraint that was already marginal. See our Fence Installation pages and Home Additions & ADU pages for how we sequence that work. The materials we source from Belgard and Techo-Bloc include paver profiles rated for the Florida climate, and the base spec we install to is 4-inch compacted aggregate minimum with filter fabric, sized for the local water table.
Common Mistakes to Avoid
- Pressure washing at full PSI. A 3,000 to 4,000 PSI pressure washer strips joint sand in a single pass and can lift the polymer seal on pavers. Use a 1,200 PSI or lower setting with a wide fan tip, and expect to replace joint sand afterward. Many homeowners in Miami Gardens strip the joints while prepping for a listing photo.
- Top-dressing joints with regular sand and calling it done. Regular sand washes out with the first heavy rain. Polymer sand is the correct replacement and holds in the joint through Florida’s wet season.
- Ignoring edge restraint failure because “it’s just the outer row.” The outer row is the anchor for the entire field. Once the restraint pushes away from the pavers, water gets under the base and the interior pavers follow within a season or two.
- Filling a settling depression with sand. Sand added into a depression under the pavers will drain away in a few rain events and can actually accelerate the base failure by adding water weight without restoring compaction. The base has to be dug out, recompacted, and re-bedded.
- Treating a paver that rocks under a tire as a single paver. A paver that rocks under a car is a base problem, not a paver problem. Lifting and resetting that one paver without fixing the base under it pushes the failure sideways to the next paver.
- Using a landscape contractor to reset the edge restraint. Edge restraint systems are structural. A landscape crew reinstalling a sprinkler line can reset soil against an edge that was already lifting, and the driveway looks fine for a few months, then fails at the next heavy rain.
- Skipping the filter fabric layer on a replacement. Paver bases in Miami Gardens need filter fabric between the native soil and the aggregate base. Without it, the sandy soil migrates up into the base layer and the driveway loses compaction within a season.
See the difference
 Before
 After
 Before
 After
 Before
 After
When to Call a Professional
Call a professional the moment you find any Tier 3 signal: a settling depression under a tire path, pavers you can lift by hand, or heaving after a rainstorm. Stop driving on the driveway and call the same day. For Tier 2 signals (rocking pavers, pooling, edge separation, sand bleeding), get a written quote within the month. The repair is measured in hundreds rather than thousands at that stage, and it will get larger. Do not try to reset pavers or rebuild a base yourself: paver base work requires a plate compactor, a laser level, and a base specification sized to your soil, and a home-compacted base 1 inch too thin is a failure waiting for the first wet season. For anything involving a slope toward the house or garage, call a professional before the next rain.
Rowan Construction Group Miami Gardens offers free estimates in Miami Gardens and a Free Second Opinion on any written estimate you’ve received from another contractor. Call (844) 320-5198 and we’ll send a crew to look at the base, the restraint, and the drainage, and put a flat written price in front of you before any work starts. Start with the Miami Gardens home page for the shape of the whole service.
Frequently Asked Questions
A targeted repair – resetting a handful of pavers, re-sanding joints, and rebuilding a failed edge restraint – typically lands in the hundreds of dollars per area. A partial overlay or replacement of a failed section runs into the low thousands, and a full driveway replacement is higher. The number depends on the size of the affected field and whether the base beneath the pavers needs recompaction or replacement. Call (844) 320-5198 for an exact written quote – estimates are free and we put the price in writing before any work starts.
Yes, in most cases a partial repair is the right answer if the failure is local rather than total. Pavers can be lifted, the base under the affected area recompacted, and the pavers relaid in the same pattern with the same pavers. The key is matching the base spec on the replacement section to the original base spec, which is why the written report matters – a contractor needs to know whether the original base was 4 inches or 6 inches to match it. Repairs that don’t match the base spec show up as a settlement line at the repair boundary within a season.
A sinking paver driveway almost always means the base beneath that spot has lost compaction, either through water intrusion, sandy soil migration into the base layer, tree roots lifting a section, or a broken irrigation line under the pavers. The pavers don’t sink; the base under them does. In Miami Gardens, the most common cause is a failed edge restraint letting water into the base layer during a wet-season storm event, followed by soil migration – the base moves slowly, and the settling is only visible at the surface once the base has lost a half inch or more of compaction.
Step on the outer edge pavers. If they rock, the restraint is failing. Look at the seam between the edge pavers and the field; a gap of 1/8 inch or more that wasn’t there when the driveway was installed means the restraint has moved. Check the soil side of the restraint for a gap where water can run under the pavers. In Miami Gardens, edge restraint failures show up most often on the side of the driveway closest to a landscape bed or where an irrigation line runs.
Water pooling anywhere on a paver driveway that wasn’t there when the installation was finished is a Tier 2 signal at minimum, and a Tier 3 signal if it sits for days or is more than 1/2 inch deep at the low point. Pooling means the drainage pitch has changed, which means the base has moved. Sitting water accelerates base erosion and can reach the garage slab edge over time. Call (844) 320-5198 to have a crew assess the drainage and base – estimates are free and the written report includes the base condition.
Photograph the suspect area with a date stamp and a scale, measure the width of any open joint or the depth of any pool, and note whether water appears after every storm or only heavy ones. Record any landscape changes near the driveway in the last 12 months, along with the driveway’s install date and any pressure washing. Bring those to the call and the quote will be more accurate. The Rowan Construction Group Miami Gardens home page covers how we document what we find on the visit, and any written estimate you gather elsewhere can be brought to us for our Free Second Opinion line by line at no charge.
The Bottom Line
The warning signs of paver failure are readable well before the failure becomes an emergency, and the tier system is the whole point: some signs are expected wear, some are a repair quote this month, and some mean stop driving on the driveway now. Water pooling and edge restraint separation are the two signals that matter most, and both are measurable at home with a straight edge, a timeline, and photographs. Get a baseline, keep it dated, and bring it to the contractor. That document is what makes the quote a flat price in writing rather than a guess, and it’s what keeps the repair in the hundreds rather than the thousands. Under the Haven Standard, the price is written before anyone starts, the work is covered by the 365-Day Done Right Promise, and the photo record includes what we found and what we did, so the failure doesn’t get rediscovered a season later.
Rowan Construction Group works under The Haven Standard across our seven trades, with a flat written price before any work begins and no change order signed until you’ve read it. If you’ve noticed a paver that rocks or water that pools on your driveway, call (844) 320-5198 to schedule a free estimate – we’ll measure the base, photograph what we find, and put the numbers in writing so you can compare. You can also bring any written estimate you’ve collected from another contractor for our Free Second Opinion.
Written by the team at Rowan Construction Group.